How to Drywall an Arch
Learning how to drywall an arch might be easier than you think
Beginners are often apprehensive about the curved surface of drywall. It’s completely understandable. If you really think you’ll have trouble, you can always install the arch yourself and hire someone to do the drywall for you. But before you make your decision, have a look over this handy, step-by-step guide. You may find that learning how to drywall an arch is easier than you think.

The Easy Way To Drywall An Arch
So you've finished framing your arch and now want to embark on the finishing stages, well we're here to help. Follow the instructions below and you'll be ready to paint in no time!
Step 1: Use drywall that is 1/2 inch thick and fasten it over the arch.
Take a sheet (or smaller pieces) of 1/2 inch thick drywall and cover the wall that the arch is on. The drywall will overhang covering the arch, but don't worry we'll fix that in the next step.
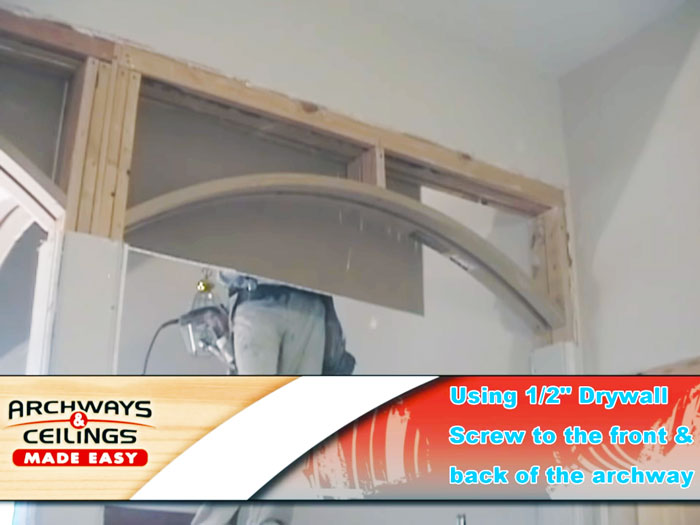
Step 1 - Covering the arch with drywall
Step 2: Cut drywall to archway.
Now that you've installed the drywall, it’s time to get your curve back. Here you're going to cut the drywall along the edge of the arch. We recommend using a router with a special bit to cut the drywall to make a clean cut. (Tip: Google rotozip)

Step 2 - Cut along the arch with a router
Step 3: Add more screws along the edge of the curve as needed.
This will secure the drywall to the MDF and give you a cleaner edge. You’ll definitely need to add some, but how many is up to you and your curve. While learning how to drywall an arch, you’ll be able to see whether you need more screws or not. If it looks like there are open spaces or gaps, add another screw.
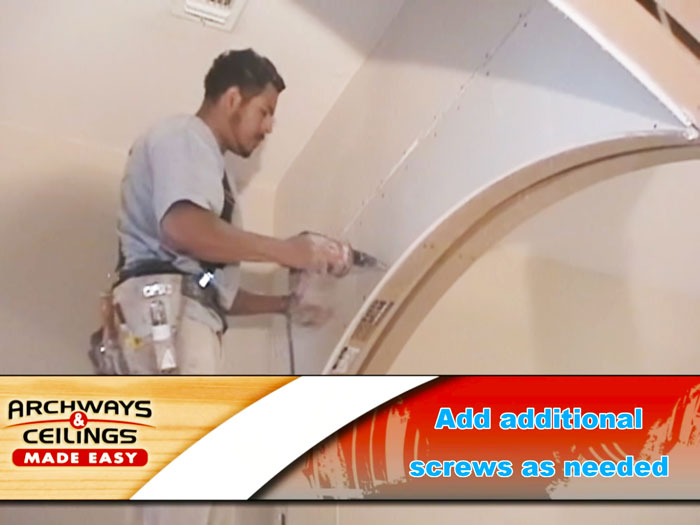
Step 3 - Add more screws to ensure a strong fit
Step 4: Repeat on the other side of the arch.
Just switch sides and follow steps 1-3 again. When you’re done, both sides of the archway should have drywall and you'll be ready to move on to the bottom of the arch.
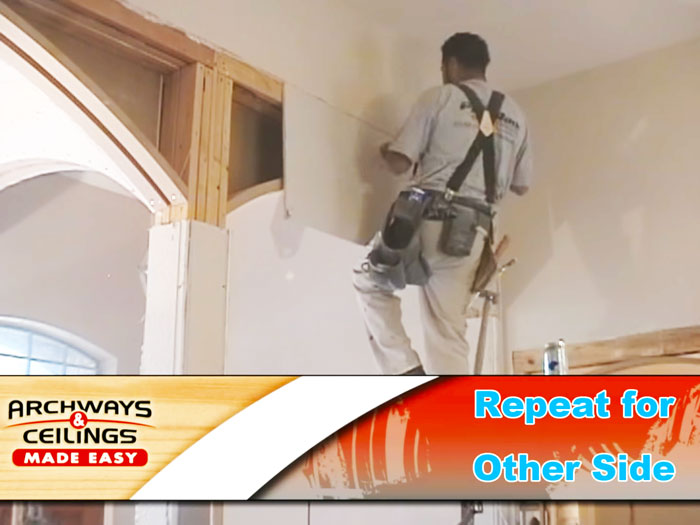
Step 4 - Repeat steps 1-3 on the other side
Step 5: Measure and place a double layer of ¼” drywall under the archway.
Ok now that the two faces of the arch have been drywalled, now we can finish it up by adding drywall to the bottom side of the arch. It's best to use 1/4 inch drywall for this step because it offers more flexibility than 1/2 inch drywall. But it also depends on the curve of your arch, if the arch is not too pronounced you might be able to get away with 1/2 inch drywall.
Here’s a tip: Wet the back of the drywall to help it bend to conform to the curve. Before fastening, slowly work it with your fingers gently creating a curve. Be careful not to break the drywall. Don’t worry if you have to start over as it will take a little bit of time to acquire the feel for bending drywall.
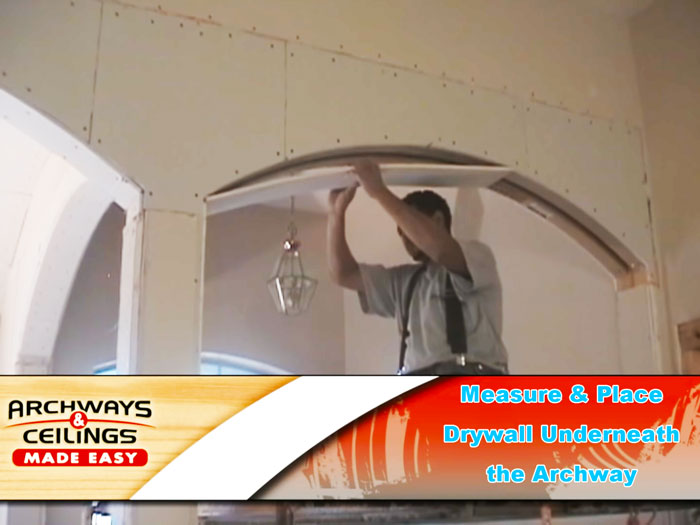
Step 5 - Adding drywall to underside of the arch
Step 6: Screw the drywall into place.
Once you've got the right curve to the drywall and it's fitting nicely on the arch, it's time to fasten it to the frame. Since you’re already holding the drywall in place at this point, just use your drill and screw bit to screw it into place.
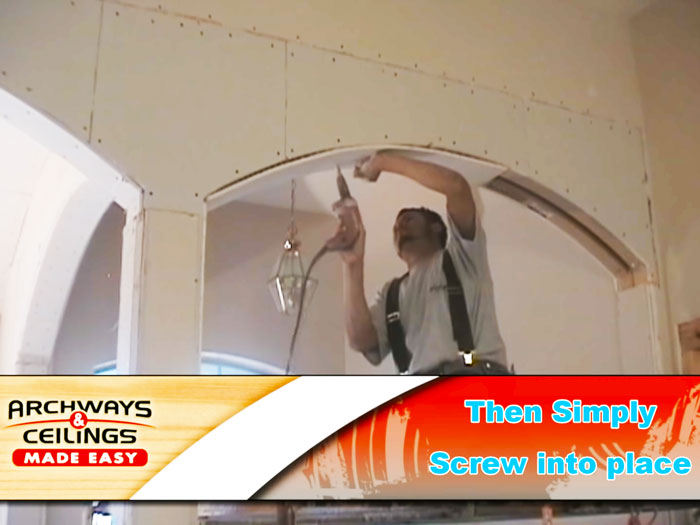
Step 6 - Screw the drywall to the bottom of the arch
Step 7: Now, you’re ready for tape and mud.
This is the part where it really helps to be meticulous. Apply very thin layers of mud and then sand them down until your surface is smooth. Don’t forget to leave time for each layer to dry in-between. Taping and compounding is a practice in patience, but it will pay off in the end. You could know everything about how to drywall an arch, but if you don’t have patience with this process, you will not get the perfect finish you were looking for.
See, we told you putting drywall on an arch wasn't that hard! But if you really want to see how easy it is, check out the video of the below of the entire process.
How to Drywall An Arch Video
What To Do After You Drywall The Arch
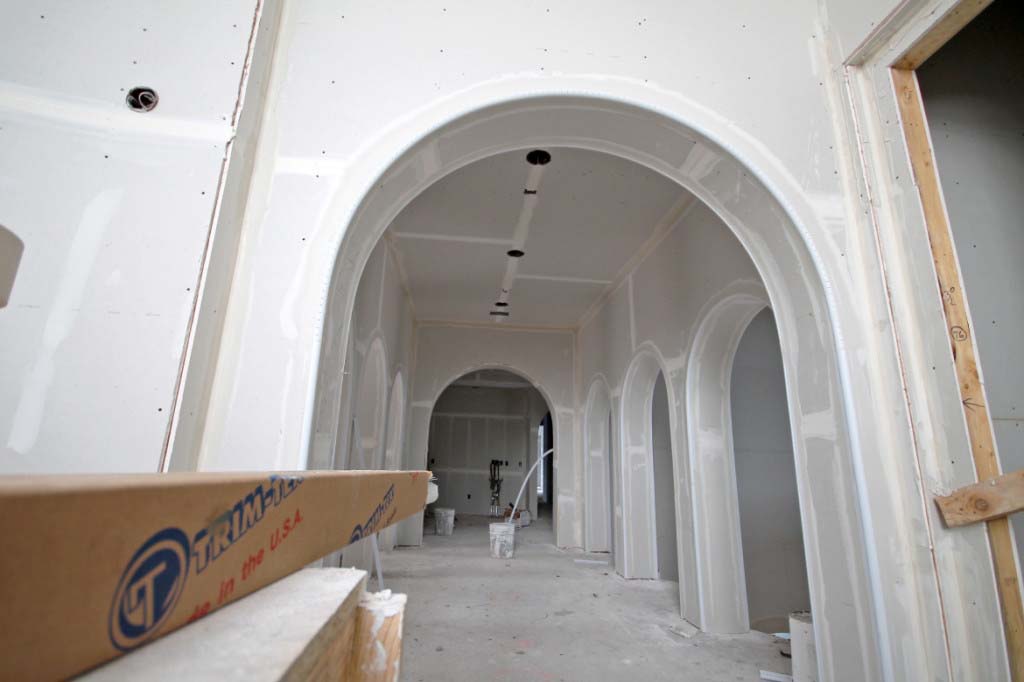
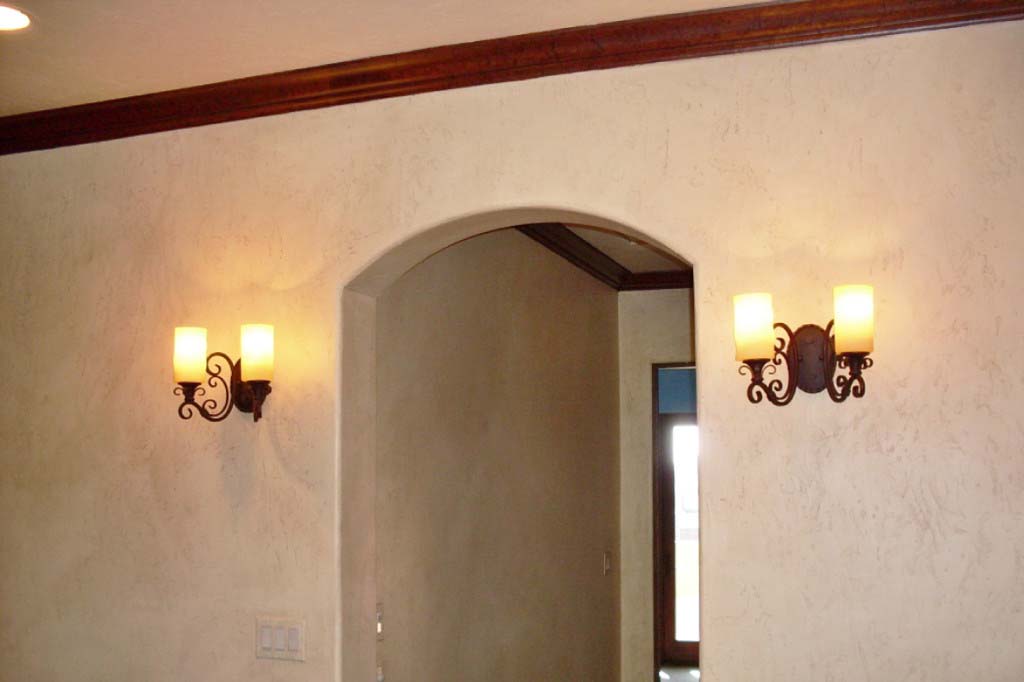
Now that your archway is installed and drywalled, you’re ready to paint. But before you get out the paintbrushes, take a step back and admire your work. You just installed a professional-quality arch in almost no time at all, and then finished it despite the fact that you were worried about knowing how you would drywall an arch. It’s done and looking fabulous. Time for a little pat on the back. You’ve earned it.

Archways & Ceilings - Your Source For Archway Kits
Our objective is to make it easy for you to get the archway you want while getting it installed and painted with as little fuss as possible. We can design an archway built to your measurements, style, and that’ll fit the space you choose. We love seeing your ideas materialize and can’t wait to see your next archway! If you’ve got a project in process, or one already completed, don’t forget to tag us on
Instagram at @archwaysandceilings
or use the hashtag #archwaysandceilings.
We look forward to working with you, and if you have any questions, please don't hesitate to
reach out to us
. We’re always here to help.

